Dress Diaries: Victorian Corsets
I've been working with Simplicity 9769, Civil War Undergarments. It took me five attempts before I got a corset that fit well and was sturdy enough.
Corset #1: Too Big (June 25, 2008)
Corset #2: Too Small
Corset #3: Too Flimsy (April 14, 2009)
Corset #4: Too Flimsy, Again
Corset #5: JUST RIGHT, GOLDILOCKS! (May 16, 2010)
Corset #1: Too Big
My first corset (made in 2007) was too big, as evidenced by the total lack of gap in the back:

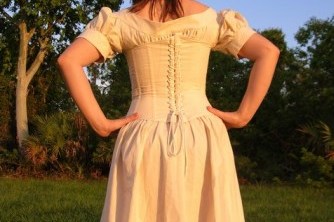
I measured at size 16, but made a 14, having been warned by livejournal-ers of the tendency for this pattern to run large. However, this was obviously not enough of a downsize. Ultimately, I made the corset in a size 8, but it took four more tries.
Corset #2: Too Small
This was the size six. I don't even have photos of this one. It was ridiculously small.
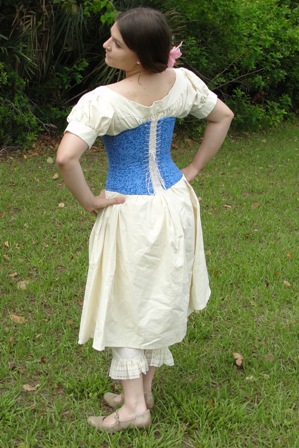
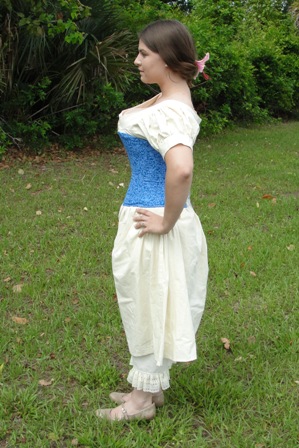
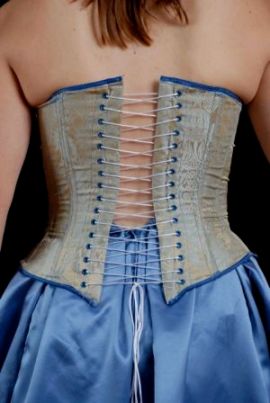
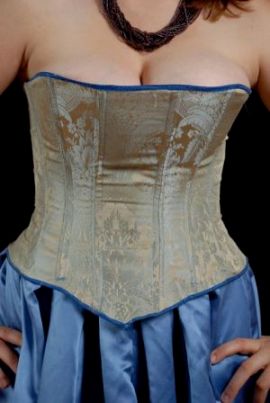
Corset # 3: Too Flimsy
My second corset (made in 2008) fit well, but had some other problems. I should have used a stronger boning for the back pieces (note the warping when it's tightened - ugh!). Also, I think I chose a terrible fabric (though it was pretty!), because it didn't have the strength to hold up when it was laced up, nor did it stand up to the boning poking through the ends of hte channels. I should have tightened the boning even more, to get rid of the wrinkles in the middle, but if I had done so, it would have torn completely out the end. Hummmmm.
Corset #4: Also too Flimsy (though very pretty)
Photos forthcoming... this one WAS really pretty. But the boning poked out the ends of the boning channels.
Corset #5: Just right!
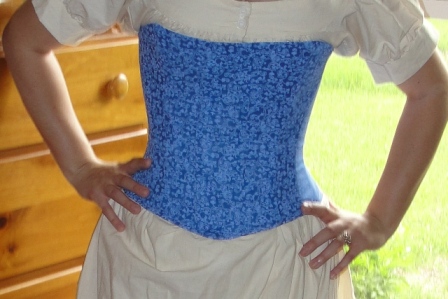
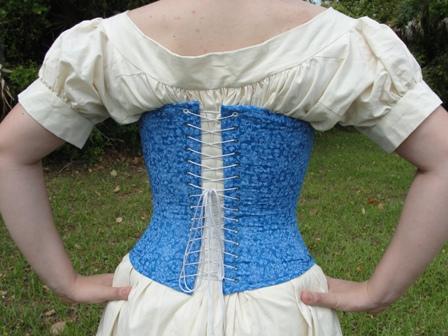
Finally, I got it right! I made this corset out of three layers. I used a layer of sturdy canvas, combined with unbleached muslin, for the interior. I also added extra boning channels. For boning, I used massive cable ties (thank you Home Depot!) and I wrapped the ends in electrical tape to avoid what happened to my green and black corset with the boning poking through.
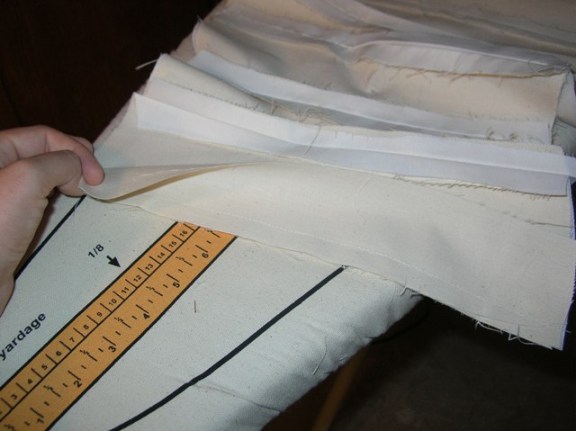
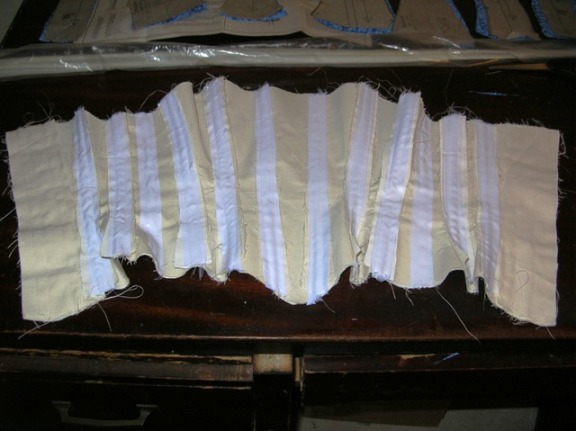
First I assembled the interior pieces (canvas and muslin):
Then I added an extra layer of canvas to provide sturdiness for the grommets (i.e. the back interfacing piece):
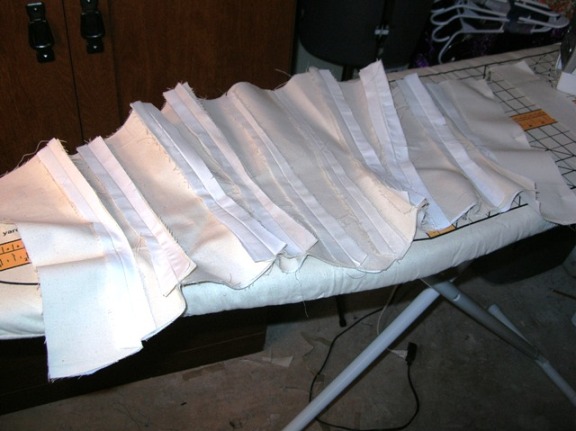
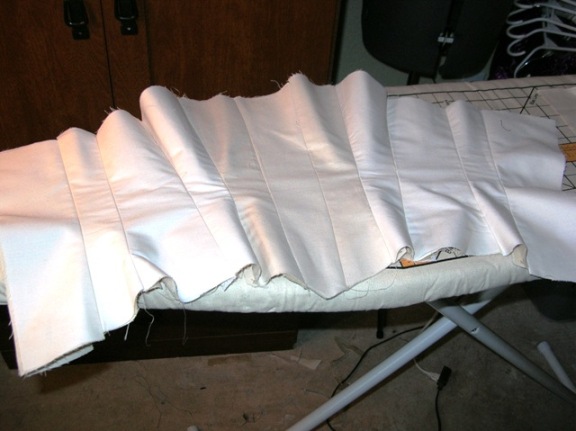
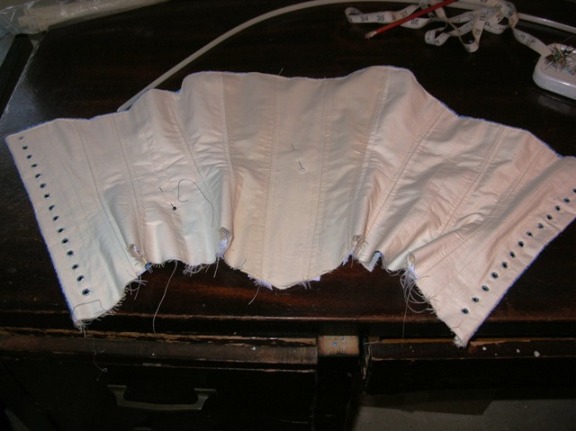
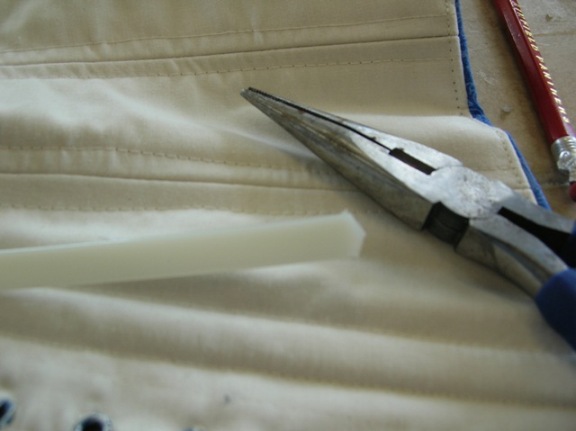
Then I made the boning channels, using 1" twill tape so that I could sew from the right side of the fabric (the inside of the corset, but it will be visible). I tested the width of each one as I went along. 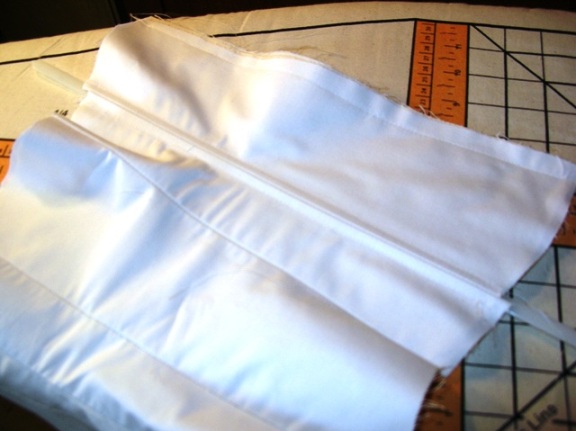
Voila! finished boning channels. I added four extra bones, one on each side and one just inside the location of the grommets on the back (using the double canvas instead of twill tape).
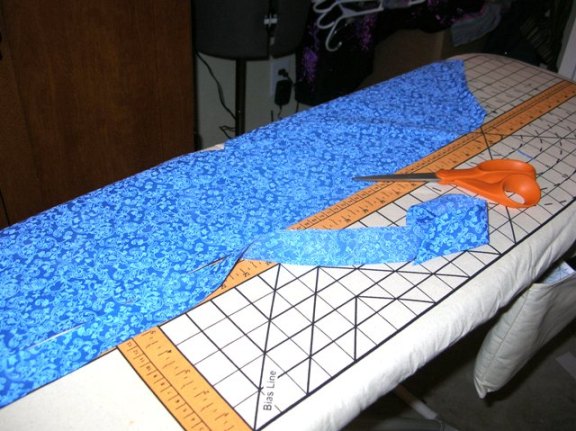
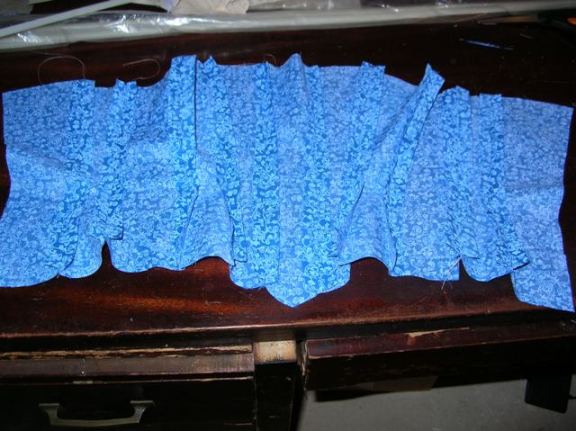
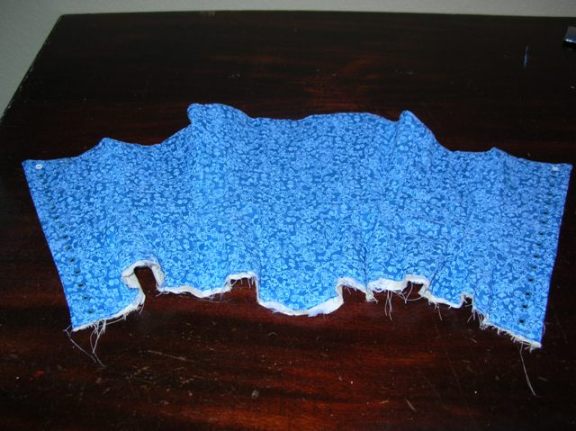
Then I assembled the exterior fashion layer. This is just a simple quilting cotton.
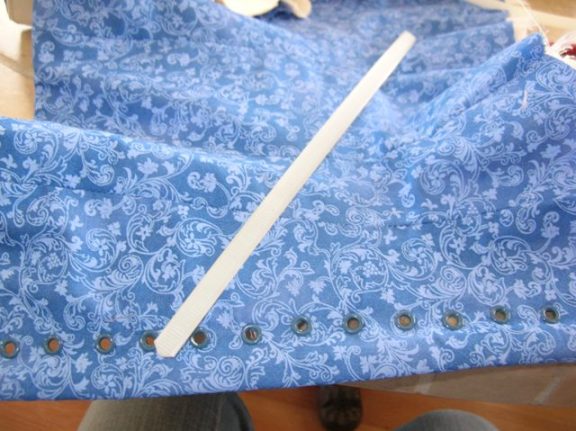
Then I sewed the two together, but NOT by laying them flat on each other. I did a real seam, right sides together, and then ironed it right side out, and did a topstitch at the top of the corset. The topstitching made a huge difference. Then I installed the grommets.

Then I added the bones. I used cable ties. I know it's not as nice as spring steel but I just can't afford to buy the extra materials right now. I wrapped the end of each bone in electrical tape to avoid its poking through the fabric.
Then I did a basting stitch along the bottom to secure the bones in place.
Then I made bias tape (which I hate doing, but it was worth it) and finished the bottom off.